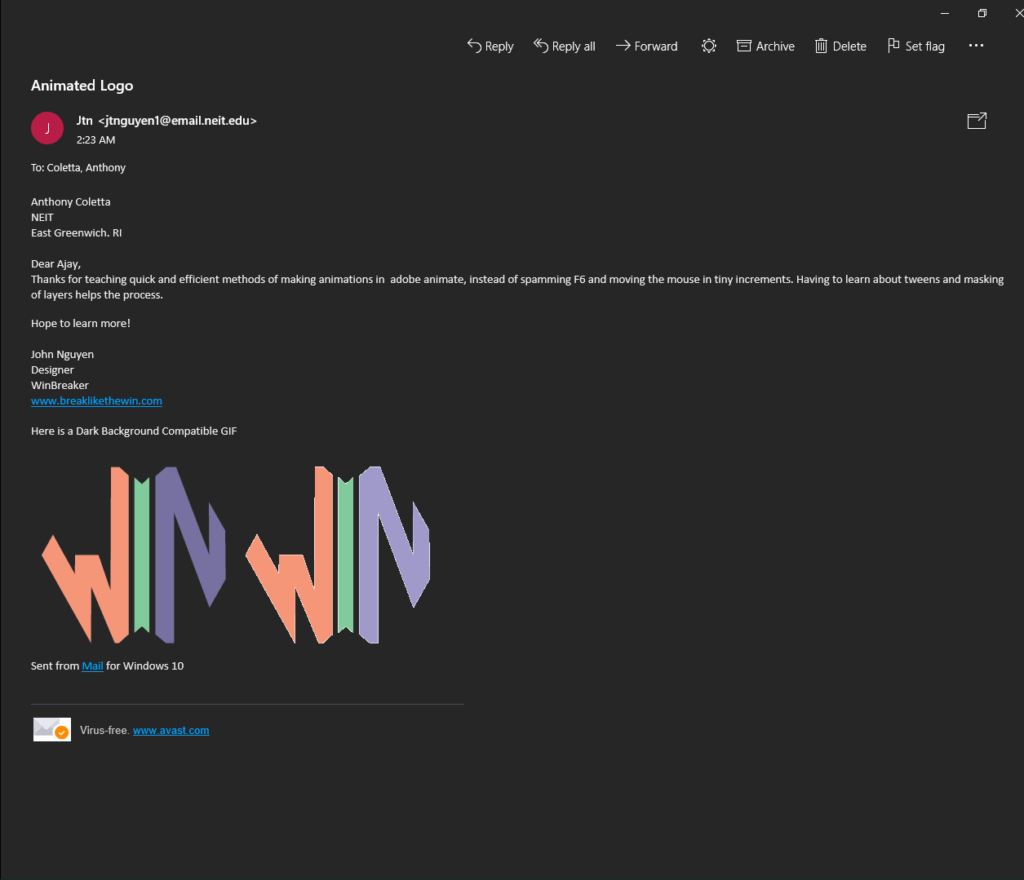
How it’s Done
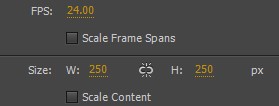
When making this animated logo, I started setting the document size to 250×250 pixels running at 24 FPS (Frames Per Second). Doing this will set the minimum file size for the Animated Logo GIF while maintaining a decent appearance for the GIF.
The Fades
I later used the WIN Logo and pressed Control/Command + B to break apart the logo then used Adobe Animate‘s Pen tool to trace out the letters and pull apart all the negative space with the mouse while maintaining the interiors of the letters.
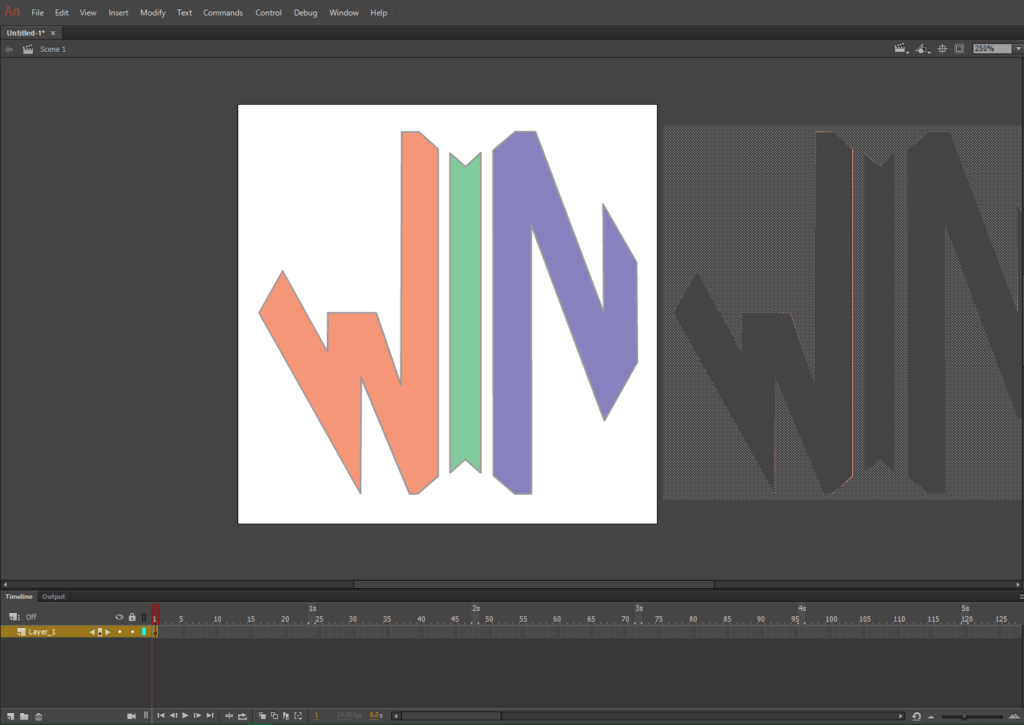
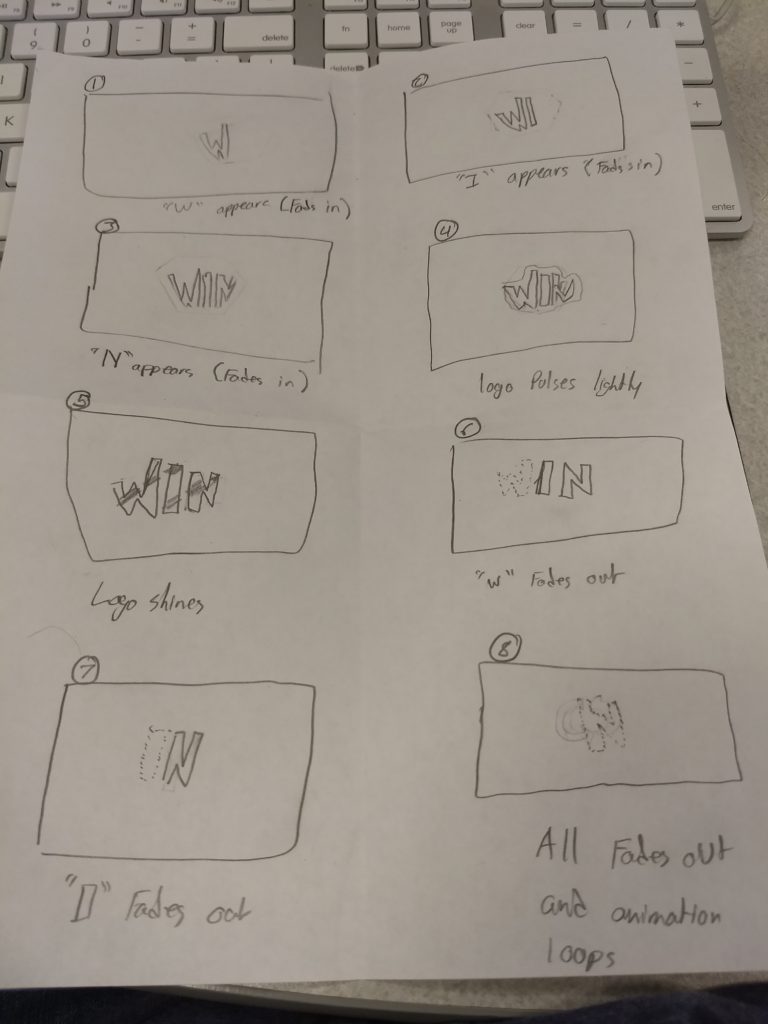
After removing the negative space, moved the logo from it’s original spot and filled the area within the stroke to the logo’s color. I then removed the logo and double-clicked the Stroke to remove it from the shape. After removing the stroke I first reduced the opacity of the entire logo to 0 and selectively use a shape tween for each letter to appear. After that I made another layer but this time the letters disappear. Each letter appears at around 10-15 frames, and that goes the same for disappearing.
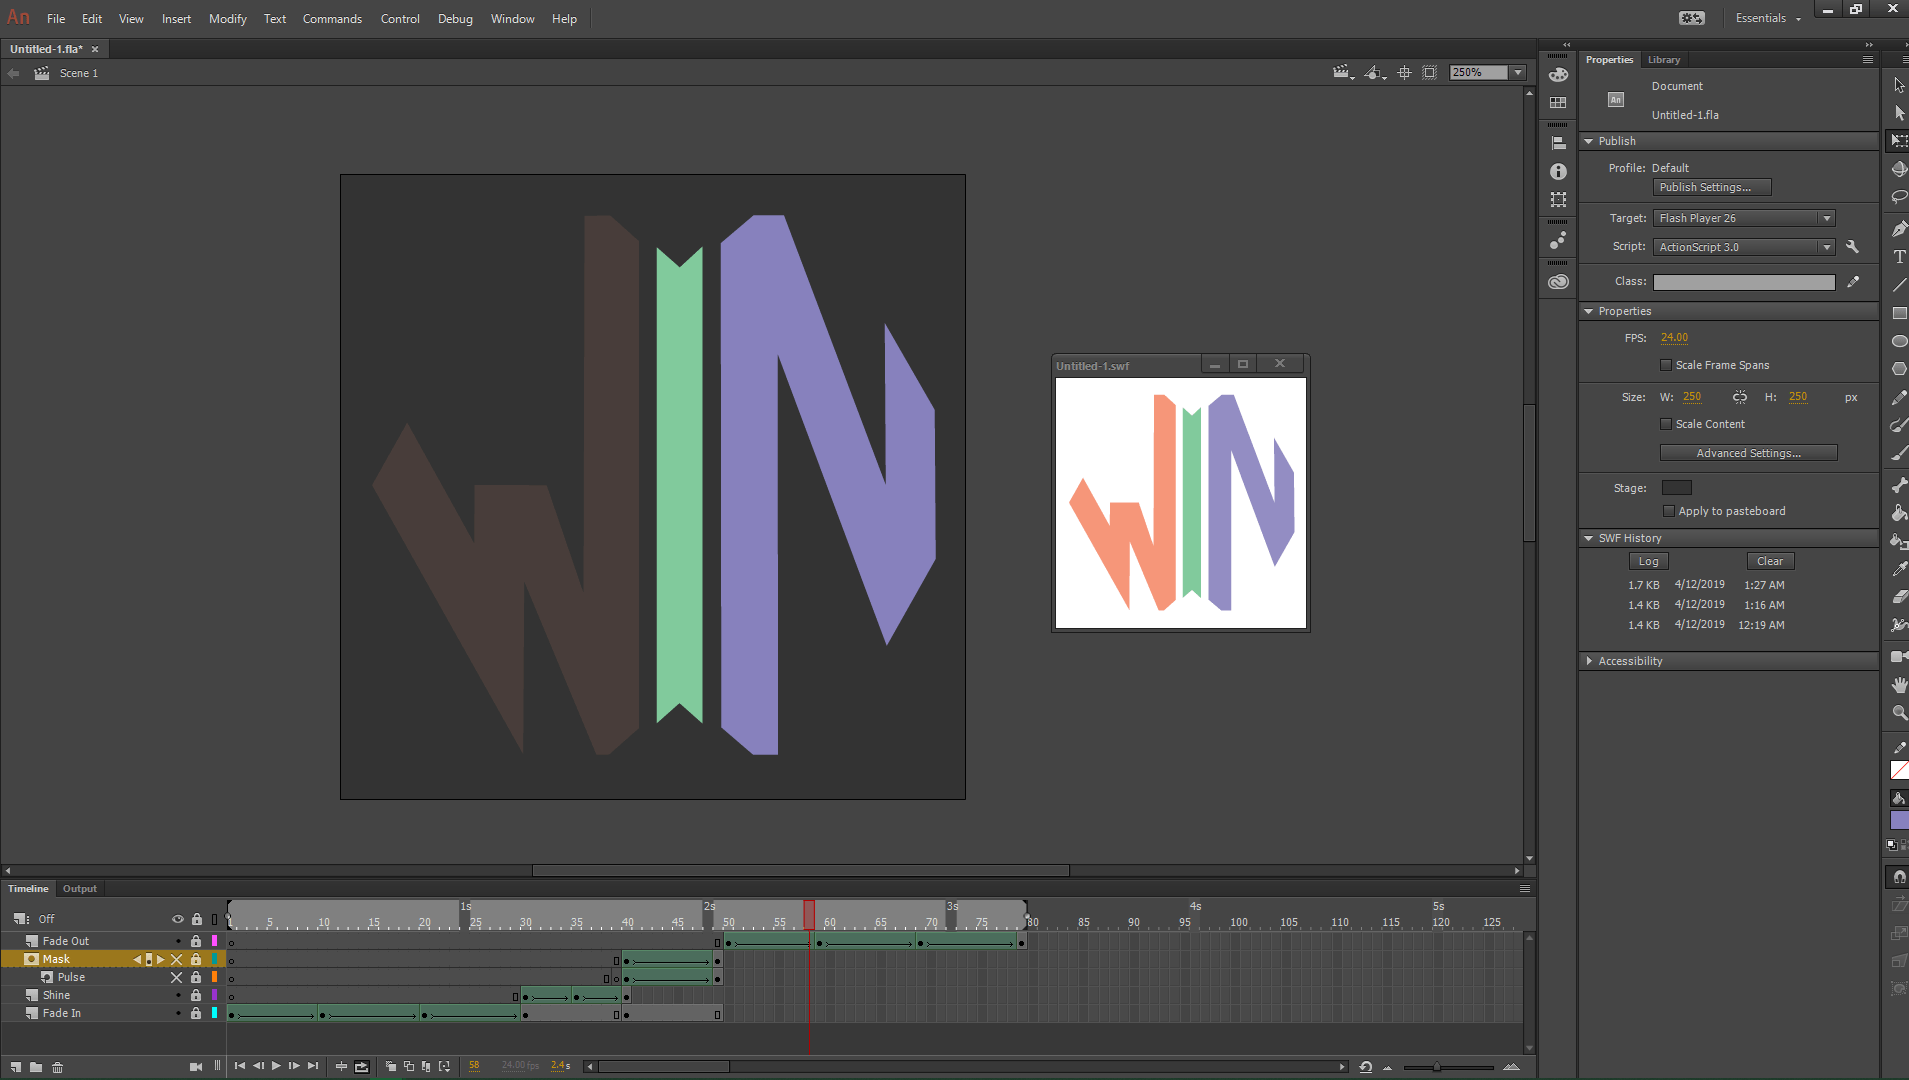

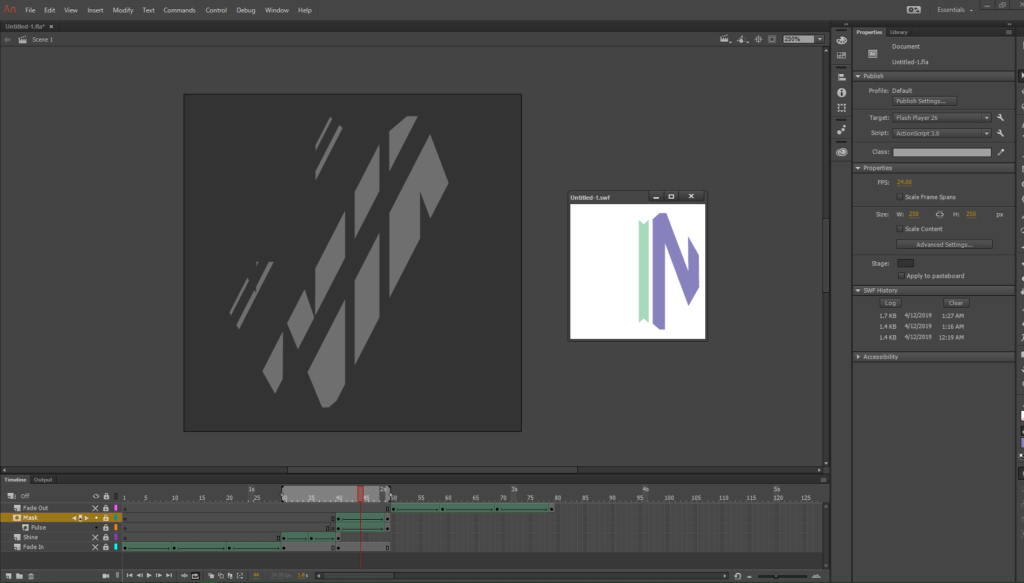
The Pulse
When making the pulse, I made room between the beginning and ending fades, about 10 frames. First I made another Logo in a different layer but it is mostly grey, then I made another frame about 5 frames in to create the same one but completely white and enlarged. Finally at the 10th frame I enlarged the logo again but then turned the white to a more grey and lowered. while doing this the opacity is lowered from 100 to 0 from frame 1to 10 of this process.
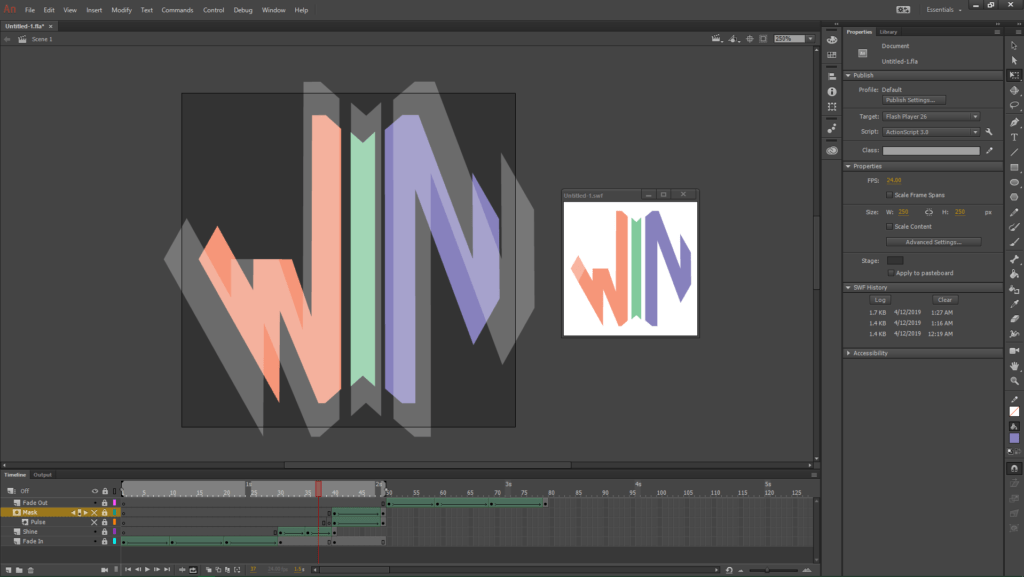
The Shine
To make the shine I created a rectangle that should cover all of the logo in length but in width it should be rather thin. then i made another that is slightly more thin than the first followed by 2 very thin rectangles. I also reduced the opacity of the rectangles to 30% to show that it’s light rays. I then used a masking feature to make the rectangles only appear where the letters of the Logo are visible.